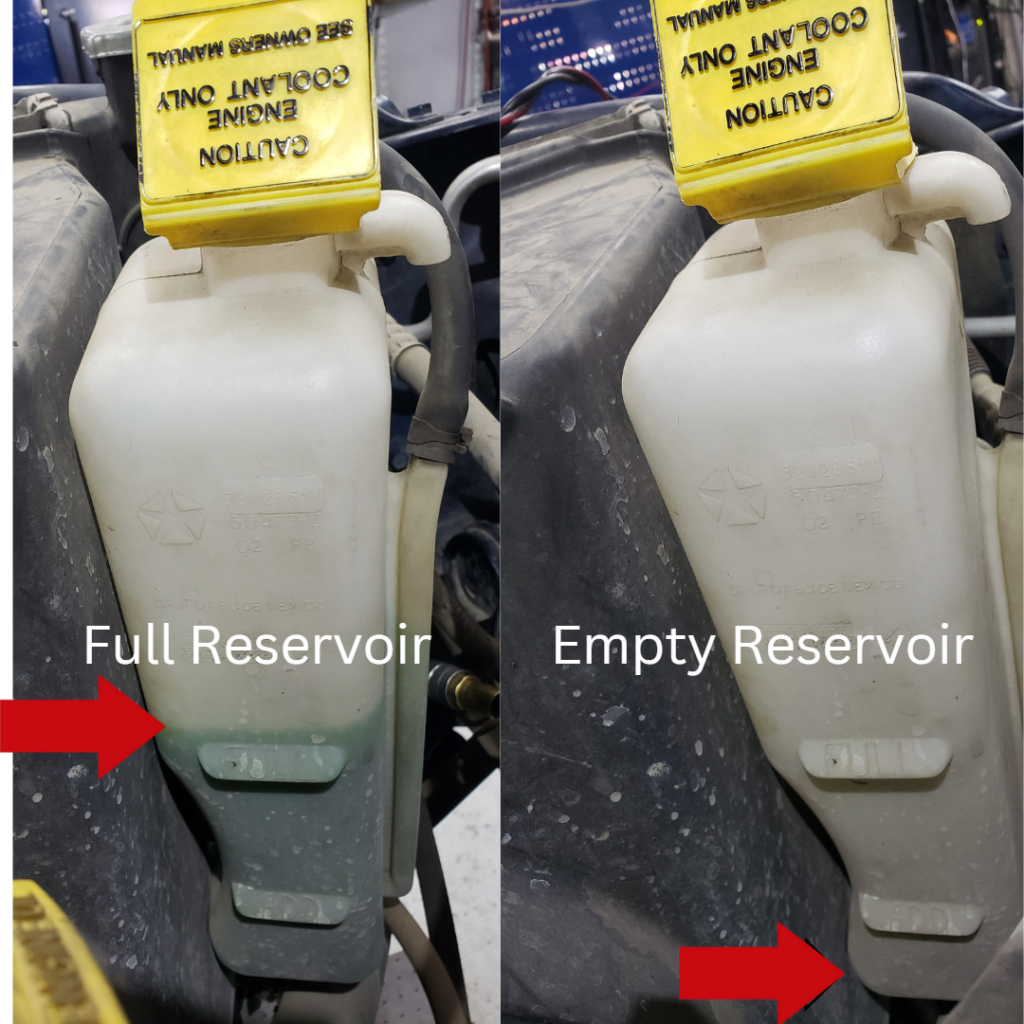
DIY Tip-Coolant level
Follow these 4 diy tip-coolant level steps to make sure your coolant is at the proper level.
After a cooling system service, it is important to get all the air out of the system. The best way I know of is to
1- Fill the cooling system with the proper coolant and install the cap. Top off the
reservoir if it has a separate one.
2- Start and run the engine to operating temperature or until the thermostat
opens. You will know this when both radiator hoses are warm/hot to the touch.
3- Shut off the engine and let it cool down for at least 30 min, preferably 1 hour.
4- Then check the level in the reservoir or surge tank. If it dropped, then the air is
now purged from the system. Top off the reservoir/surge tank and you are good
to go. I always like to add a little more than full to allow for any extra air that
may be trapped. https://posts.gle/vqsBmA
PRO TIP: If your system has a cap on the radiator and a separate reservoir. Then make sure the radiator is full after it cools down completely. If the radiator is not full there is an issue with the cap or the connection between the radiator and reservoir.


